
Posted: October 23, 2015
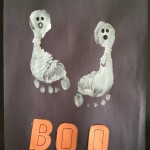
Halloween is a time where children get to dress up and be ‘something else,’ all at a time where parents treasure who they are right now! Crafts can involve various quality and difficulty levels based upon the child’s age, but crafts that create a permanent record of the child’s size are especially great. Our latest Fun-For-All Halloween craft are Footprint Ghosts, which use your child’s feet as the blueprint for a spooky design! These ghosts not only allow for you to create a craft outside of your child’s motor abilities, it also creates a memory book-worthy record of your child this holiday season.
Footprint Ghosts
Entry Level:
Supplies:
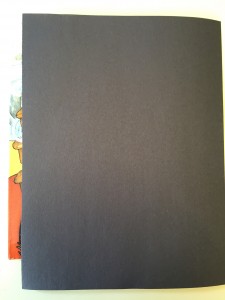
- Black paper
- White paint
- Black marker
- Paint brush
- Step 1
- Step 2
- Step 3

- Step 4
Step 1:
Grab a hard cover book that you can use to place the black paper on. Keep this near you.
Step 2:
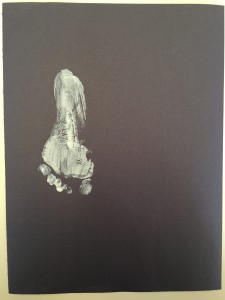
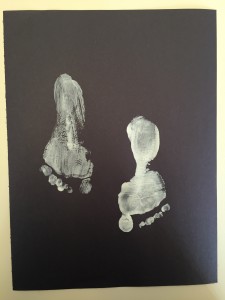
Paint the child’s right foot white.
Tip: Have the child seated when possible to avoid mess!
Step 3:
Holding the foot, pick up the book with the paper on top and press the foot onto the paper, leaving room for another footprint.
Tip: Avoid keeping the foot onto the paper for too long because the child will most likely wiggle their foot, smearing the footprint.
Also, keep some baby wipes near you and use that to wipe the foot clean.
Step 4:
Paint the child’s left foot.
Step 5:
Holding the foot, pick up the book with the paper on top and press the foot onto the paper.
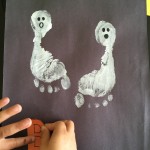
Step 6:
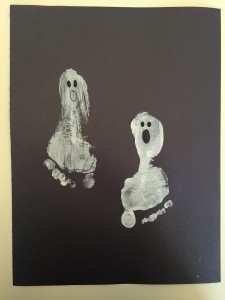
After the footprints have dried, draw eyes and mouths onto the heel of the foot with the black marker.
Advanced Level:
Supplies:
- Black and orange paper
- White paint
- Black marker
- Paint brush
- Glue
- Stencils
- Scissors
- Step 1
- Step 2
- Step 3
- Step 4
Step 1:
Complete steps 1-6 of the entry-level version.
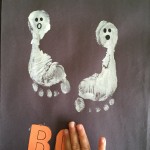
Step 2:
Using stencils, trace out the letters B-O-O. You can even free hand the letters.
Step 3:
Cut out the letters.
Step 4:
Apply glue to the letter B.
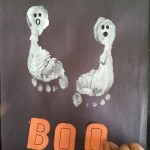
Step 5:
Have the child press and apply the letter onto the paper.
Step 6:
Apply glue to the letter O.
Step 7:
Have the child press the letter onto the paper next to the B.
Step 8:
Apply glue to the last O.
Step 9:
Have the child press the letter onto the paper next to the other O.